Even the smallest defect can have serious consequences for the subsequent process of the part.
To ensure that we meet our high quality standards, we control our production means, raw materials and castings continuously throughout the entire manufacturing process, using a wide range of procedures.
When we receive the raw materials, we check them directly before their storage, mainly the aluminum, which is analyzed with a spectrometer to verify its chemical composition
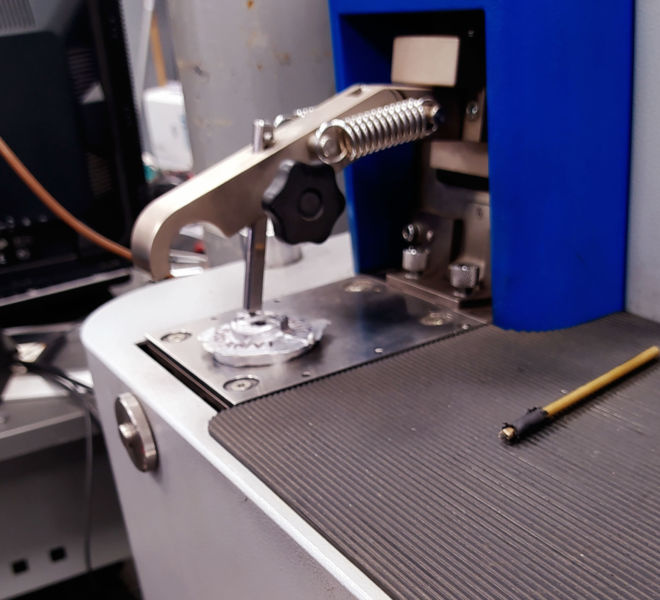
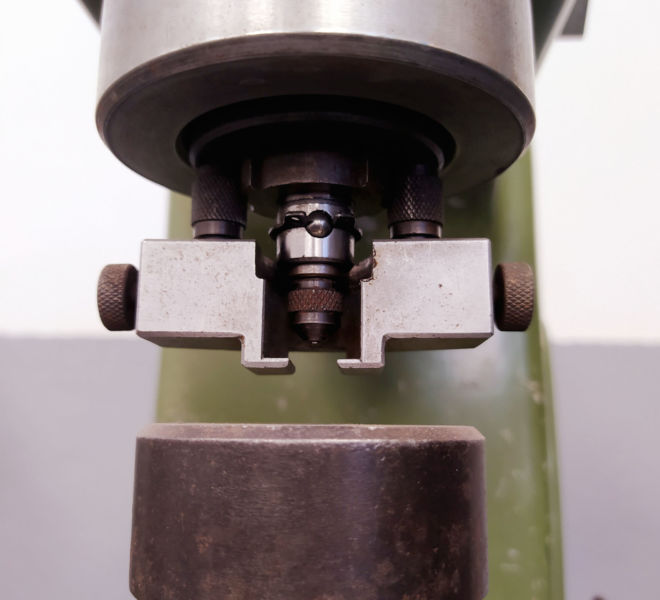
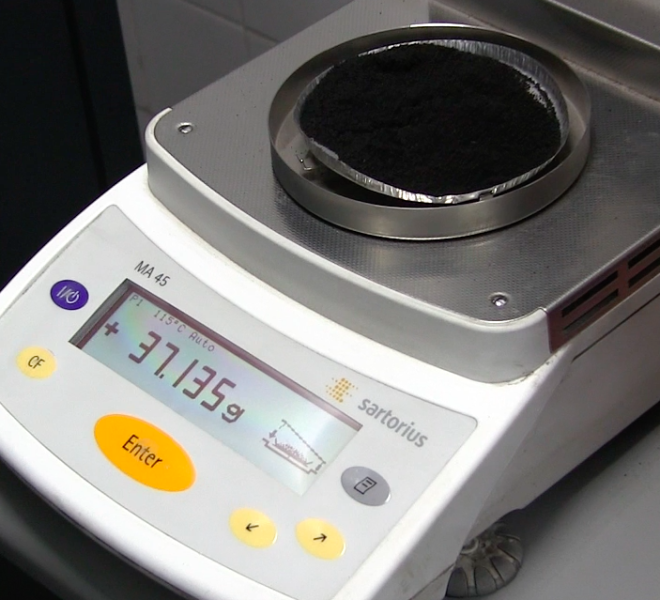
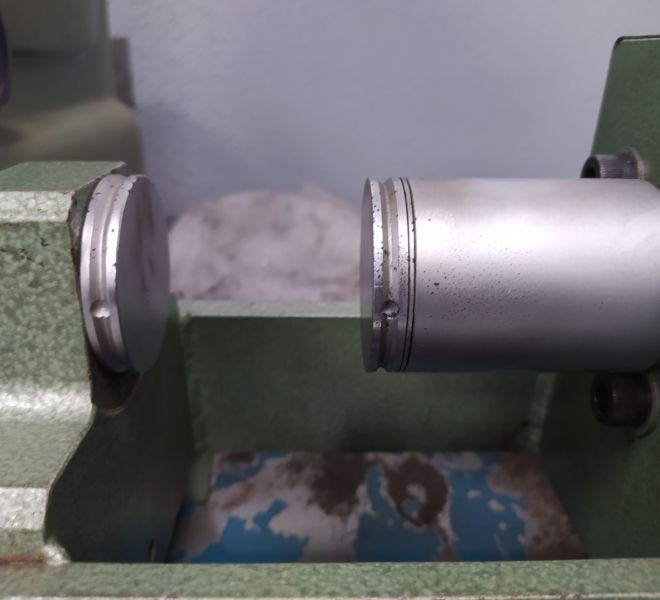
In order to check the consistency of the sand moulds used in the casting process, a humidity measurement is carried out with a tool that dries the sand to obtain its percentage of humidity, as well as its hardness.
To do this we form a sand cylinder that is subjected to pressure.
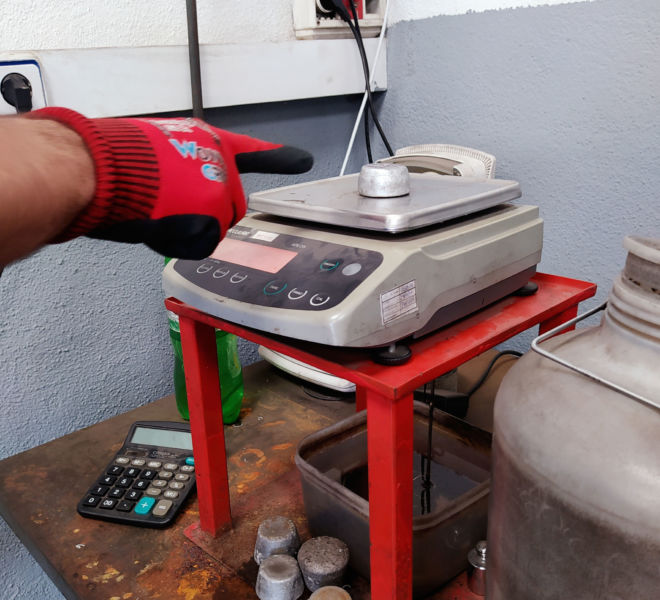
With the density measuring device, we check the gas volume in the aluminium using a test tube. The part should have a density of around 2.7 depending on the alloy used.
This control is very important in order to find out the chemical composition of the molten alloy. For this, we use the spectrometer.
We analyze the data, which is recorded in our ERP at the same time as it is embodied on the 3.1 certificate and sent to the customer at the time of dispatch.
The test can be carried out both with a raw or machined specimen, as well as on a sample of a cast part.
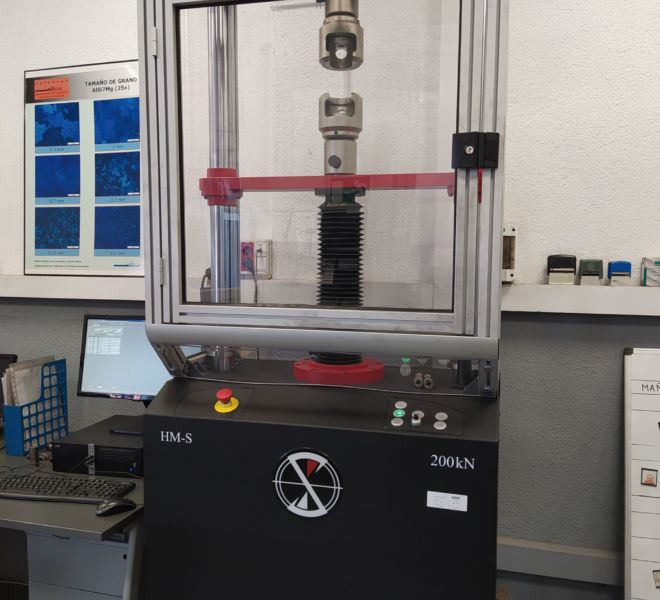
We check the mechanical properties of the piece using a tensile testing machine, which exerts force on the specimen until it breaks and so, obtaining the mechanical properties of: elongation, tensile force and breaking load.
All checks are recorded in detail on internal data sheets so that we can keep track of your specifications more easily and quickly.
After the heat treatment, which is carried out at the customer’s request and in our facility, we check the hardness of the parts with a durometer, either with the portable or fixed durometer, and for 100% of the parts.
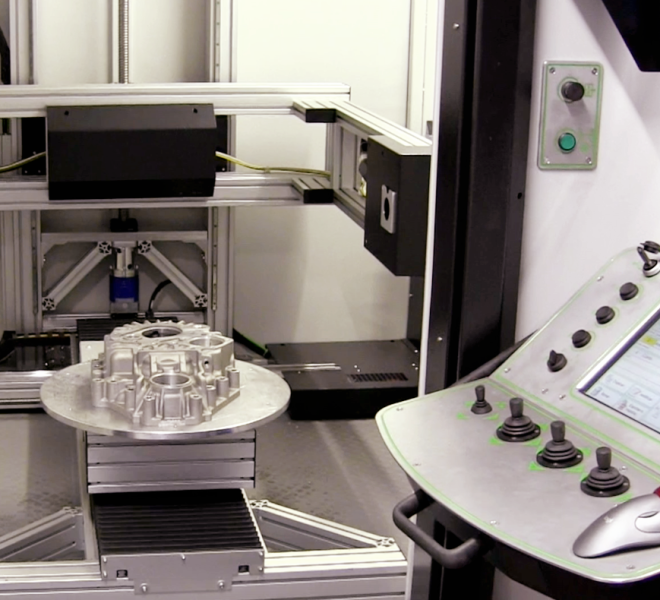
One of our non-destructive inspection methods is fluoroscopy or radioscopy. In this procedure the pieces enter an X-ray booth, and we obtain the recordings of the inside of the pieces for a 100% control. We also have the option of sending these images.
More details on this process can be found on our X-ray page.
Penetrating liquids inspection is a control that also belongs to the group of non-destructive tests.
It is a control that allows the observation of surface defects, such as porosities or cracks. We recommend this control on machined parts, not on raw parts, since the roughness of the part can give us false indications and obtain an unreliable result.
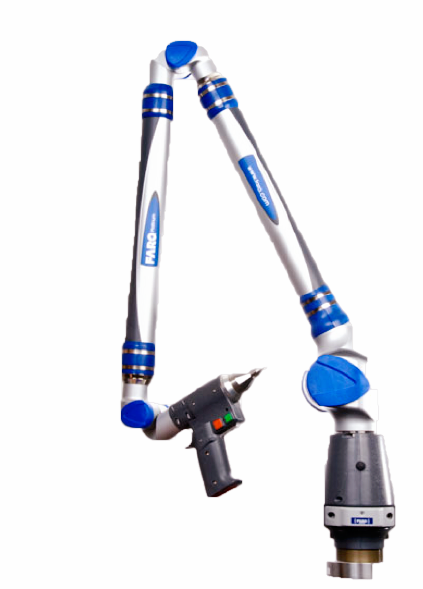
Our machine, which we call FARO arm, allows us a 3D scan of the already casted and machined, to make a comparison with the customer’s original design.
This is done by superimposing the customer’s initial 3D with the 3D obtained from the scanning of the part.
The report resulting from this scan will also be sent to you.

